Disclosure: HarvestMap is reader-supported. If you buy through links on this page, we may earn a commission at no extra cost to you. As an Amazon Associate I earn from qualifying purchases.
Storing food underground is called a root cellar, a cold cellar, or underground food storage. The name describes the method: a buried space that holds the earth’s steady temperature instead of relying on electricity. At depths of 6 to 12 feet, the year round temperature of the earth is typically 40 to 50 F with minimal seasonal fluctuation, according to Michigan State University Extension. That’s why you can store food underground without power. This guide covers the main methods, from garden pits and buried containers to full cellars, plus the costs, the crops that suit each one, and the storage conditions that keep produce alive through winter.
What It’s Called and How Underground Storage Works
Storing food underground is called a root cellar, a cold cellar, or underground food storage. The name describes the method: a buried space that holds the earth’s steady temperature instead of relying on electricity.
That steadiness is the whole point. According to Michigan State University extension, “The year round temperature of the earth at depths of 6 to 12 feet is typically in the range of 40 to 50 F with minimal seasonal fluctuation” (F1). Even at 4 feet the soil temperature is fairly stable (F175). A cellar simply borrows that stability.
The Three Variables You Manage
Temperature, humidity, and ventilation decide whether your harvest keeps or rots.
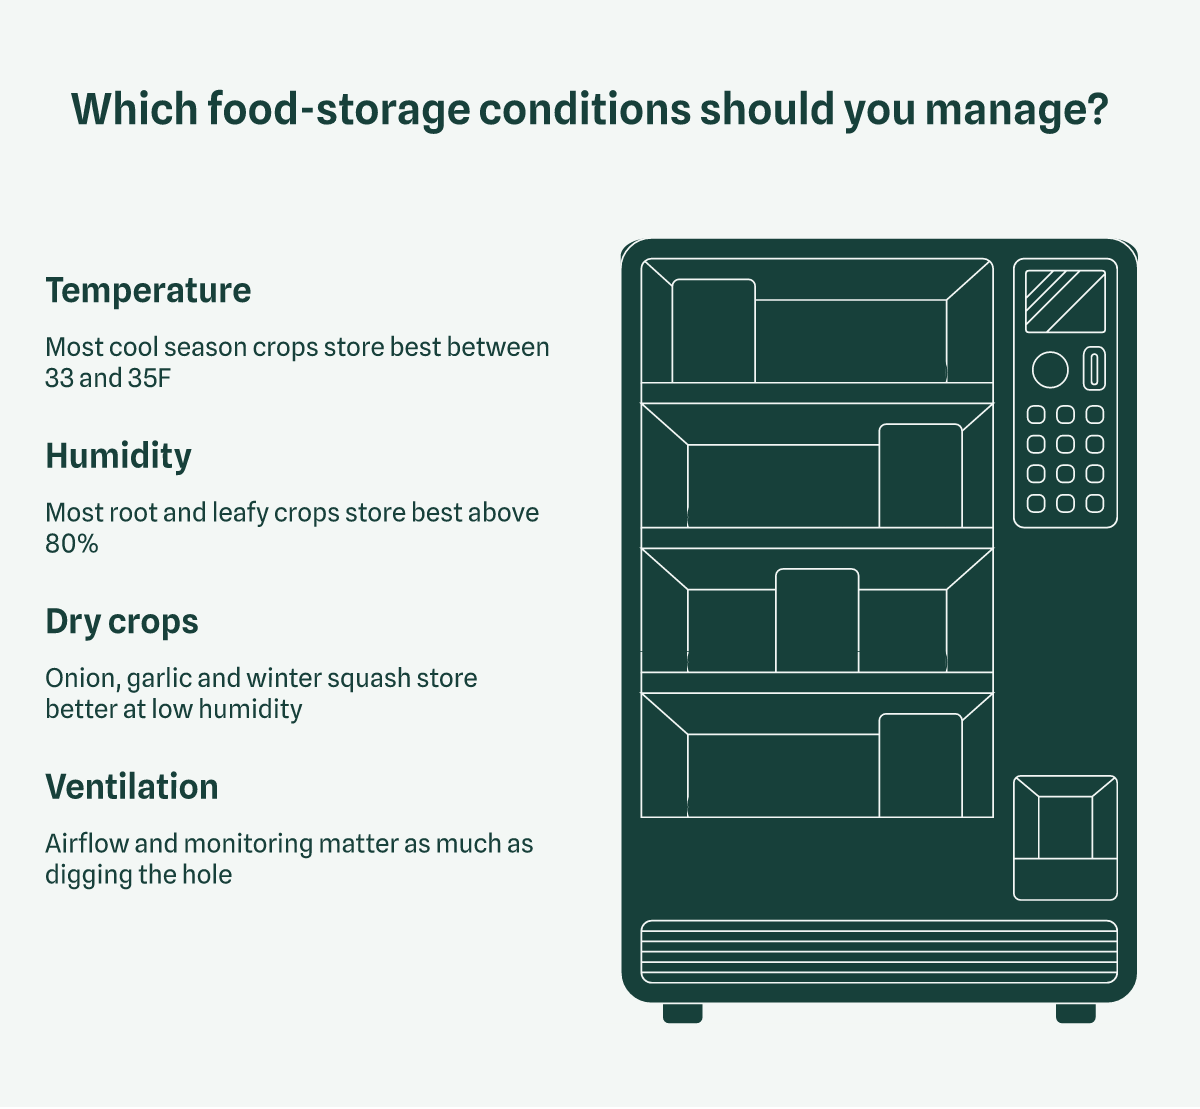
- Temperature: Most cold tolerant or cool season crops store best between 33 and 35F or just above freezing and up to 40F (F2, MSU extension).
- Humidity: Most root and leafy crops store best at high humidity above 80% (F3, MSU extension).
- Dry crops: Onion, garlic and winter squash store better at low humidity, less than 60% (F4, MSU extension).
If your space can’t hit all three, split the harvest. Keep roots in the damp zone and cure onions and squash in a dry, airy spot instead of forcing everything into one room.
Why Ventilation Isn’t Optional
Produce stays alive after harvest. It consumes stored carbohydrates and gives off heat, carbon dioxide, and ethylene, so airflow and monitoring matter as much as digging the hole. Purdue extension notes that outdoor temperatures well below 32°F are needed to cool storage air to 32°F and to maintain that temperature. Get the structure right and the site does most of the work. MSU extension reports that 18 to 24 inches of soil on the roof, along with managed moisture and ventilation, provides an ideal environment for storing living leaf, root, seed, and fruit vegetables (F10).
Underground Food Storage Methods, From Cheap to Permanent
You can store food underground at almost any budget, from a mulch-covered row in the garden to a poured concrete cellar. The method you choose depends on how much you grow, how cold your winters get, and how hard the ground freezes.
The Cheap End: Garden, Mounds, and Buried Cans
Leave carrots, turnips, and parsnips in the ground where they grew. After the ground begins to freeze in late fall, cover the root crops with a foot or more of mulch. Don’t place mulch on warm soil, because doing so will cause vegetables to decay rapidly.
Mounds and pits work for cabbage and root crops. Pile the produce, cover it with bedding material, then cover the entire pile with 3 to 4 inches of soil (Purdue Extension, HO-125). A shallow excavation from 6 to 10 inches deep gives better frost protection, but it raises the danger of excess water (Washington State University Extension, EB1326E). Dig a drainage trench if your site holds water.
A 20-gallon trash can buried in the ground makes convenient, economical storage. Punch drainage holes in the bottom. Metal cans are more rodent proof than plastic.
Tile Silos, Trench Silos, and Indoor Rooms
For a tile silo, dig the hole 6 inches deeper than the length of the tile and build a frame about 2 feet high around the trench. A 24 by 24 inch tile will store about 6.5 bushels. Lay a 36 by 36 inch square of half-inch hardware cloth over the top, then add 3 to 4 inches of insulation (Purdue Extension, HO-125).
Indoors, partition off a north or east side of the basement without heating pipes or ducts for 3 to 6 weeks of short-term storage. A room 4 by 4 by 6 feet is large enough for most households. An area 6 by 7 by 7 feet holds approximately 30 bushels of produce, and 8 by 10 by 7 feet holds approximately 60 bushels (Washington State University Extension, EB1326E).
Paul and Sandy Arnold in New York built a 20 by 30 foot concrete block basement below a storage and work building.
For build details, see How to Build a Root Cellar and Above Ground and Concrete Root Cellars.
Costs and Trade-Offs
Underground food storage ranges from nearly free to a serious construction project. Match the method to your budget and your access needs, not the other way around.
| Method | Cost picture | Main trade-off |
|---|---|---|
| Buried trash can or tile | Cheapest entry point | Small capacity, hard to reach in deep winter |
Treat it as a one-time cost against decades of storage.
Buried trash cans and tiles are the cheapest entry point but hold little. A 24 by 24 inch tile stores about 6.5 bushels, per Purdue Extension, and digging it out through frozen ground in January is miserable.
Outdoor pits and mounds cost almost nothing but invite rodents and flooding, and they freeze shut. Indoor basements are convenient but usually too warm next to a furnace.
Ventilation is the hidden cost. Washington State University reports an insulated cellar partly above ground needed full day and night ventilation to hold 32°F when outdoor temperatures ranged 18°F to 30°F by day and dipped to 10°F at night.
Skip the buried can if you plan to eat from storage weekly. The access problem outweighs the savings, and a partitioned basement corner serves you better for the same money.
What to Store, How Long, and Where It Goes
Match each crop to its own conditions. Don’t treat the cellar as one big room. Michigan State University Extension groups storage crops into categories, and the first is cold and very damp: 32-40°F and 90-95% relative humidity. That group covers beets, carrots, celeriac, celery, Chinese cabbage, horseradish, sunchokes, kohlrabi, leeks, parsnips, rutabagas, salsify, turnips, and winter radishes.
Those crops want moisture because they’re still alive and still losing water. Most root and leafy crops store best at high humidity above 80%, per the same source. Pack carrots in damp sand or sawdust if the room air runs dry.
How Long It Keeps
Michigan State lists longer term storage of 3 to 6 months for cabbage, carrots, garlic, onions, potatoes, and winter squash, and medium term of 1 to 2 months for beets, Brussels sprouts, celery, Chinese cabbage, and turnip. Plan your winter menu around those windows rather than around hope.
Onions, garlic, and winter squash break the pattern. They want low humidity, under 60%, so keep them out of the damp room entirely. Cure them first. A warm 70-80°F, low humidity phase of 7 to 28 days extends how long they hold, per Michigan State. Sweet potatoes and potatoes want their own warm, moist curing of 7 to 10 days before storage.
When Your Space Doesn’t Cooperate
If you can’t hold 32-40°F, don’t abandon the crop. Purdue Extension notes that a north or east basement wall without heating pipes works for short-term storage of 3-6 weeks. Warmer rooms still keep onions and short-lived crops like peppers, tomatoes, and eggplant in good shape for about a month, per Mother Earth News.
Skip refrigerating winter squash, pumpkins, and sweet potatoes. They prefer warmer storage around 50-55°F, and cold injury shortens their life rather than extending it.
FAQ
What is it called when you store food underground?
The general term is a root cellar, and Michigan State University defines it as a “pit or underground cellar used for storing vegetables and fruit.” The name comes from the crops that filled the earliest ones, mainly potatoes, beets, carrots, turnips and rutabagas, but the same space holds apples, cabbage, squash and more. MSU notes the broader term cold cellar better describes the modern use, since it’s not just for root crops. A buried trash can, a pit, a trench and a basement corner all count. For construction methods, see How to Build a Root Cellar.
How much does a Groundfridge cost?
You won’t find a price for a Groundfridge in any fact sheet, so treat it as a premium manufactured option and compare it against the alternatives before you commit. A DIY buried cellar sits at the budget end. The Groundfridge is a molded unit, so expect it to cost more than a sandbag cellar or a remodeled basement corner. If budget drives the decision, build with block, tile or a buried container instead.
How long does food stay good in a root cellar?
It depends on the crop and the conditions. MSU groups storage life into longer term (3 to 6 months) for cabbage, carrots, garlic, onions, potatoes and winter squash, medium term (1 to 2 months) for beets, Brussels sprouts, celery, Chinese cabbage and turnip, and short term (1 to 3 weeks) for cauliflower, cucumber, eggplant, melon, peppers and tomato. Purdue lists dry beans and peas at 1 year. Washington State University notes that once produce comes out of outdoor storage, it keeps for 1 or 2 weeks at most. Hold most crops between 32°F and 40°F, per the Old Farmer’s Almanac.
How much does an underground cellar cost?
No single figure covers it, because cost tracks size and method. Between those, a buried trash can or tile is a budget project. Decide your capacity first, then price the shell. See Above Ground and Concrete Root Cellars for the trade-offs.
People who STOCK food in their basement: what do you actually keep down there, and why?
Keep what the room’s conditions suit, and move the rest. A furnace-heated basement runs too warm for most produce, but Purdue says it’s ideal for ripening tomatoes and for short-term storage of potatoes, sweet potatoes and onions. Ripening or short-term storage (3 to 6 weeks) works best in a partitioned-off north or east side of the basement, preferably one without heating pipes or ducts. Park home-canned and commercially canned goods in a cool, dark place. Dry goods belong in airtight containers. Onions, garlic and winter squash want drier air, so give them a separate, better-ventilated spot.
Sources
- Microsoft Word - Biernbaum Root Cellar Handout-Diagram.doc
- HO-125: Storing Vegetables and Fruits at Home
- PDF Storing Vegetables and Fruits at Home
- Root Cellars 101 - How to Build & Use One Successfully
- Storing Food for Safety and Quality - OSU Extension Service
- DIY Root Cellar Plans for Effective Cold Storage – Mother Earth News
- Homestead Root Cellar Guide: How to Store Vegetables and Fruit Without Power | Plan Your Homestead
- Root Cellar Storage Guide: What Stores Best - Grow & Store