Disclosure: HarvestMap is reader-supported. If you buy through links on this page, we may earn a commission at no extra cost to you. As an Amazon Associate I earn from qualifying purchases.
A DIY root cellar is a home-built, earth-cooled storage space that holds root crops and other produce through winter without electricity. You can build one as a buried cellar on a hillside, a converted corner of your basement, or a simple insulated box in a crawl space.
The site you pick and the three conditions you manage, temperature, humidity, and airflow, decide whether your harvest keeps until spring or rots by February. Below I cover the main types, how to choose among them, and what the extension guidance says about getting each one right.
DIY Root Cellar: Definition and What Counts as One
A DIY root cellar is any home-built, earth-cooled or insulated storage space that holds produce near 32 to 40°F at high humidity without electricity.
That definition is broader than most people expect. The Old Farmer’s Almanac describes it simply as “a space dug into the ground that is cooled by the ambient temperature of the Earth.” Digging is one way to get there, not the test.
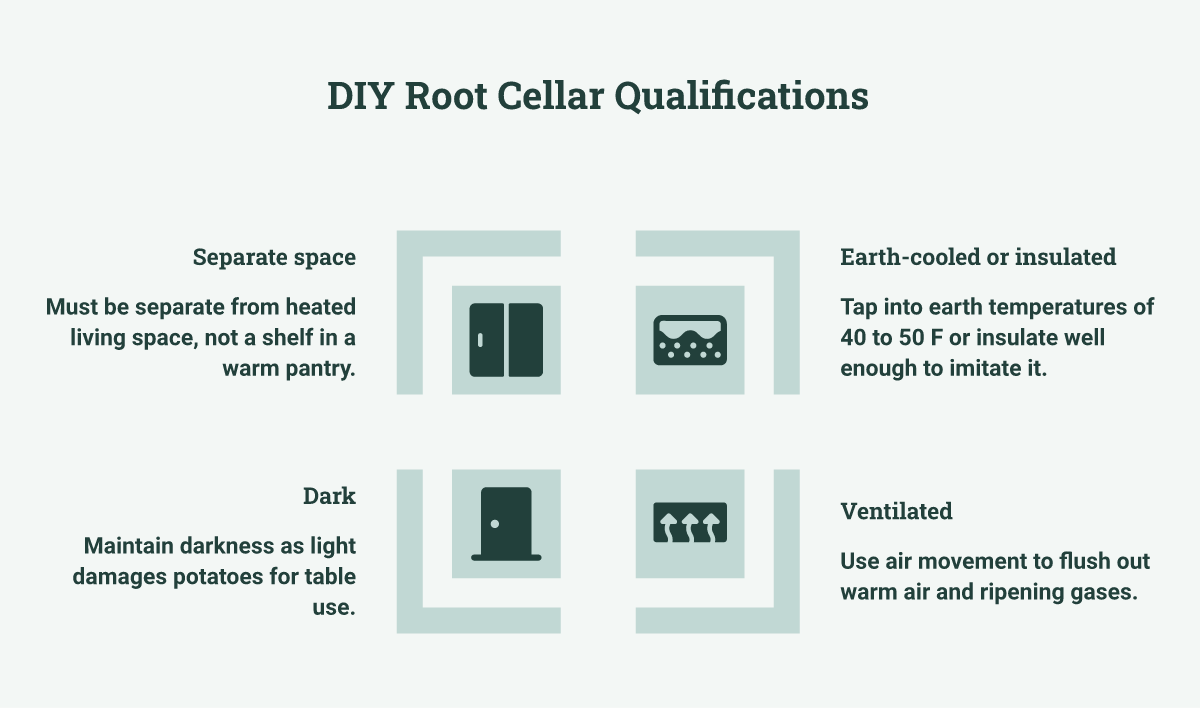
The four traits that qualify
- Earth-cooled or heavily insulated. The MSU Extension notes the year round temperature of the earth at depths of 6 to 12 feet is typically in the range of 40 to 50 F with minimal seasonal fluctuation. Your space has to tap that, or insulate well enough to imitate it.
- Ventilated. A 12-inch-square inlet and outlet serves the 10 x 14 foot cellar in the Canadian farm bulletin. Air movement is what flushes warm air and ripening gases out.
- Dark. Light damages potatoes for table use, per the same bulletin.
- Separate from heated living space. A shelf in a warm pantry isn’t a root cellar, no matter how sturdy the shelf.
Excavation is optional
A basement corner, crawl space, or insulated above-ground box counts if the conditions hold. Angi lists crawl space, earth berm, basement, under-staircase, and underground yard builds as popular locations, and the cheapest of those is a crawl space.
When digging isn’t possible, the definition doesn’t fail you. High water tables, shallow bedrock, and rented housing all point the same direction: insulate an existing cold corner instead of excavating. Hobby Farms advises insulating the ceiling and interior dividing walls of a basement cold room, not the exterior basement wall. That is the whole build in some houses.
If this were my call, I would test a basement corner with a thermometer and hygrometer for two weeks before committing to any construction. You can’t fix a space that never gets cold enough, and you will know cheaply.
Types of Root Cellars and What Each Costs (comparison table)
Cost is the first thing most people ask about. The honest answer spans four orders of magnitude. Here is how the main types compare.
| Type | Cost range | Best for |
|---|---|---|
| Under-staircase closet | Budget, uses dead space | Small harvests, insulated interior |
| Earth berm | Mid-range | High water tables, partial digging |
| Buried barrel | Budget to mid-range | Tiny harvests, one container |
Excavation is billed separately.
My pick for a first cellar is the basement conversion. It costs a fraction of a dug cellar. The conditions can be just as good if the corner stays cold. The advice you will hear is to dig, and I would skip that unless you have the slope, the drainage and the budget. If your water table is high or your soil is sandy, digging gets harder and more expensive, so an earth berm or an insulated interior room is the better call.
How to Build a Root Cellar: Siting, Sizing, and Construction Steps
Siting
Put the cellar on a north-facing slope. A hillside site drains water away from the structure, which matters more than any other siting rule because a wet cellar rots produce. The Dominion Experimental Station farm bulletin favors a south entrance so sunshine and air reach the door, but I wouldn’t trade drainage for solar exposure. Slope first, entrance second.
For a fully underground build, Angi’s guidance calls for at least 10 feet of depth with 10 feet of clearance around the perimeter for most projects. Sandy soil or a dry climate can force you deeper than 10 feet. Test your soil before you dig.
Sizing
Both work. The smaller footprint just fills faster.
The illustrated farm plan uses two 18-foot ridge poles, two 14-foot plates, ten 7-foot posts, and eight 10-foot posts.
Frame and Shell
Frame with 6- or 8-inch poles and posts where you have them, or 8 x 8-inch stock lumber. Concrete block is the durable alternative. A 12 x 16 foot cellar 9 blocks high took about 600 block.
Excavate at least 6 feet deep for the farm design. Go deeper in sand or dry ground.
Ventilation, Door, and Shelving
The illustrated cellar needs an inlet and outlet about 12 inches square. A 100 to 200 ft³ cellar is better served by 4-inch PVC, inlet near the floor and outlet high. Build the door from 3/4-inch plywood with 2 inches of rigid foam between two layers. Shelves go 18 inches deep, spaced 12 inches vertically.
Getting Temperature, Humidity, and Ventilation Right
Temperature, humidity, and air exchange decide whether your produce keeps or rots. Get them wrong and even a well-built cellar fails by February.
Temperature
The Dominion Experimental Station in Swift Current puts the general storage target at “between 35° and 40° F.” The Old Farmer’s Almanac gives a slightly wider band for vegetables: “Most vegetables store best between 32° and 40°F,” while Michigan State University Extension narrows it further for cold-tolerant crops, which “store best between 33 and 35F or just above freezing and up to 40F.” I would aim for the middle and let the edges flex.
Cure before you store. Potatoes held around 60°F for the first two weeks heal harvest damage, per the same Canadian bulletin.
Watch the floor. Potatoes freeze around 28°F. In summer a cellar can drift to 60–65°F.
Humidity
Root crops want 90–95%, root vegetables 85–95%, and most roots and leafy crops above 80%. Onions, garlic, and winter squash are the exception: keep those below 60%.
Ventilation
A 600 ft³ cellar with correctly sized pipes exchanges its air roughly every 95 minutes. That purges ethylene and heat without drying the crop. If your cellar runs wet, crack the vents at night. If it runs dry, close them and set out a bucket of water.
Root Cellar Plans and Options for Small Spaces
Not every DIY root cellar needs a backhoe. If your lot is small, your water table is high, or you rent, you have three workable routes.
Crawl Space Conversion
This is the cheapest entry point. Insulate the ceiling and the interior dividing walls only. Hobby Farms notes that exterior basement wall insulation isn’t necessary, because the earth side already runs cool.
Basement Cold Room
Build it in the northeast corner of the basement, which stays coolest year-round. Wall off a corner with rigid foam and an insulated door, then vent it. The Almanac stores beets, carrots, and turnips in 5-gallon buckets, so you don’t need shelving on day one.
Earth Berm and Above Ground
When digging fails, go up instead of down. Earth-berm and above-ground designs suit high water tables and shallow bedrock. MSU Extension notes that 18 to 24 inches of soil on the roof, plus moisture and ventilation management, can create a good storage environment.
My pick for most small yards is the basement corner. I would skip the buried barrel people recommend for tiny plots. If your basement floods, a bermed box on the north side is the fallback.
Sources
- A practical farm root cellar
- How to Build a Root Cellar | Angi
- How to a Build Root Cellar and Store Vegetables | The Old Farmer’s Almanac
- Root Cellar Design & Build Guide (2026) — 3 Designs Tested | The Off-Grid Workshop
- Microsoft Word - Biernbaum Root Cellar Handout-Diagram.doc
- How to Build a Basement Root Cellar - Hobby Farms
- Root Cellars 101 - How to Build & Use One Successfully
- How to Build a Root Cellar with SIPs – Mother Earth News